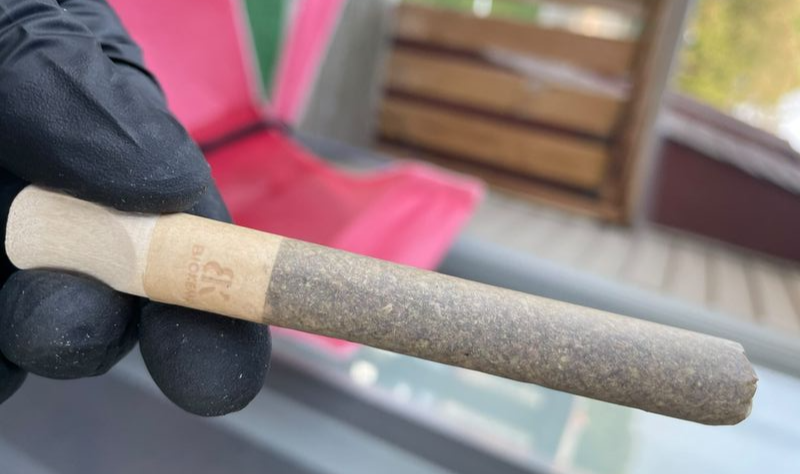
The Art of Rolling: A Step-by-Step Guide for the Perfect Joint
- May 24, 2023
- 3 min read
Rolling a joint is more than just a method of consuming cannabis; it's an art form that requires skill, patience, and a touch of creativity. Whether you're a seasoned smoker or new to the world of joints, mastering the art of rolling can enhance your smoking experience and allow you to enjoy the full flavors and effects of your favorite herb. In this step-by-step guide, we'll take you through the process of rolling the perfect joint, from selecting the right materials to perfecting your rolling technique.

Step 1: Gather Your Materials
Before you begin rolling, gather all the necessary materials. You'll need rolling papers, a filter or crutch, a grinder, and your choice of herb. It's important to use high-quality rolling papers that suit your preferences. Consider factors like paper thickness and flavor to enhance your smoking experience.
Step 2: Prepare the Filter
Filters, also known as crutches or tips, provide stability to your joint and prevent loose herb from entering your mouth. You can use pre-made filters or make your own using a small strip of sturdy paper or a pre-rolled filter tip. Fold the material into an accordion shape and place it at one end of the rolling paper.
Step 3: Grind Your Herb
Using a grinder, break down your herb into small, even pieces. Grinding ensures an even burn and helps the joint smoke more smoothly. Avoid overgrinding, as extremely fine particles may hinder airflow. If you don't have a grinder, you can use your fingers to break up the herb, but be sure to remove any stems or seeds.
Step 4: Distribute the Herb
Place the rolling paper on a flat surface with the adhesive strip facing you. Evenly distribute the ground herb along the length of the rolling paper. Aim for a consistent thickness throughout to ensure an even burn. Leave a little space at the filter end to make the rolling process easier.
Step 5: Shape and Tuck
Using your fingers, shape the herb into a cylindrical form. Start rolling from the filter end, tucking the paper over the herb, and using your thumbs to roll it into a tight cylinder. Work your way up, tucking and rolling as you go. Be gentle but firm to ensure a well-formed joint.
Step 6: Lick and Seal
Once the joint is rolled, moisten the adhesive strip with your tongue or lick it lightly. Continue rolling until the adhesive strip sticks to the paper, sealing the joint. Give it a gentle squeeze to ensure it's tightly sealed.
Step 7: Pack and Twist
To improve the burn and airflow of your joint, lightly pack the open end. You can use a pencil or a similar object to gently push the herb down. Once packed, twist the open end to keep the joint intact. This step also adds a touch of elegance to your creation.
Step 8: Practice and Refine
Rolling the perfect joint takes practice, so don't be discouraged if your initial attempts aren't flawless. The more you roll, the better you'll become at mastering the technique. Experiment with different rolling papers, filters, and herb combinations to find what works best for you. Embrace the learning process and enjoy the journey.
Step 9: Enjoy Responsibly
Once you've rolled your joint, it's time to sit back, relax, and enjoy your creation. Remember to consume cannabis responsibly and in compliance with the laws and regulations of your area. Moderation is key, so pace yourself and be aware of the effects cannabis may have on you.
Conclusion
Rolling the perfect joint is an art that can be perfected with time, practice, and a love for the process. By following this step-by-step guide, you'll have the knowledge and skills to roll a joint that burns evenly, smokes smoothly, and enhances the flavors and effects of your favorite herb. Remember to gather your materials, prepare the filter, grind your herb, distribute it evenly, shape and tuck, lick and seal, pack and twist, and most importantly, practice and refine your technique. Embrace the art of rolling and savor the joy of creating and consuming a perfectly rolled joint.


Comentários